Create your first compute
-
In the top left of the No_Ops portal, click
Compute, then selectCreate computeon the right.
-
Give your compute a name and code, along with an optional folder to place it in. Then click
Create.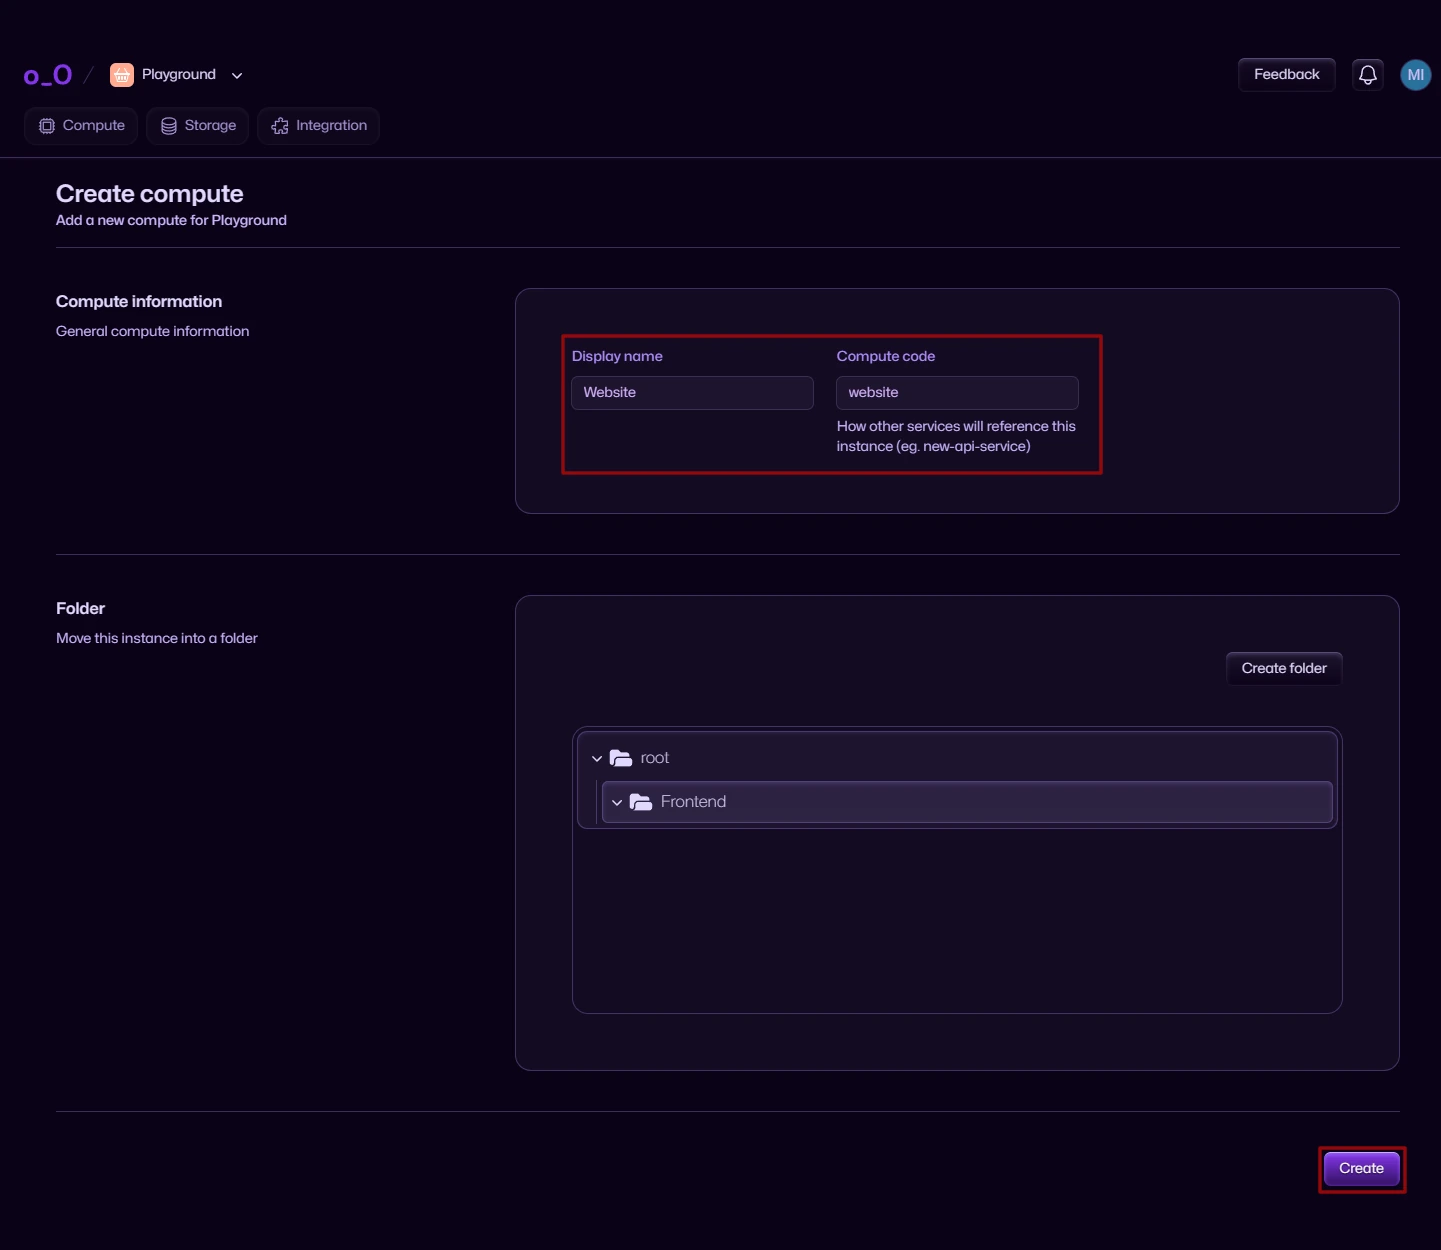
Create your first revision
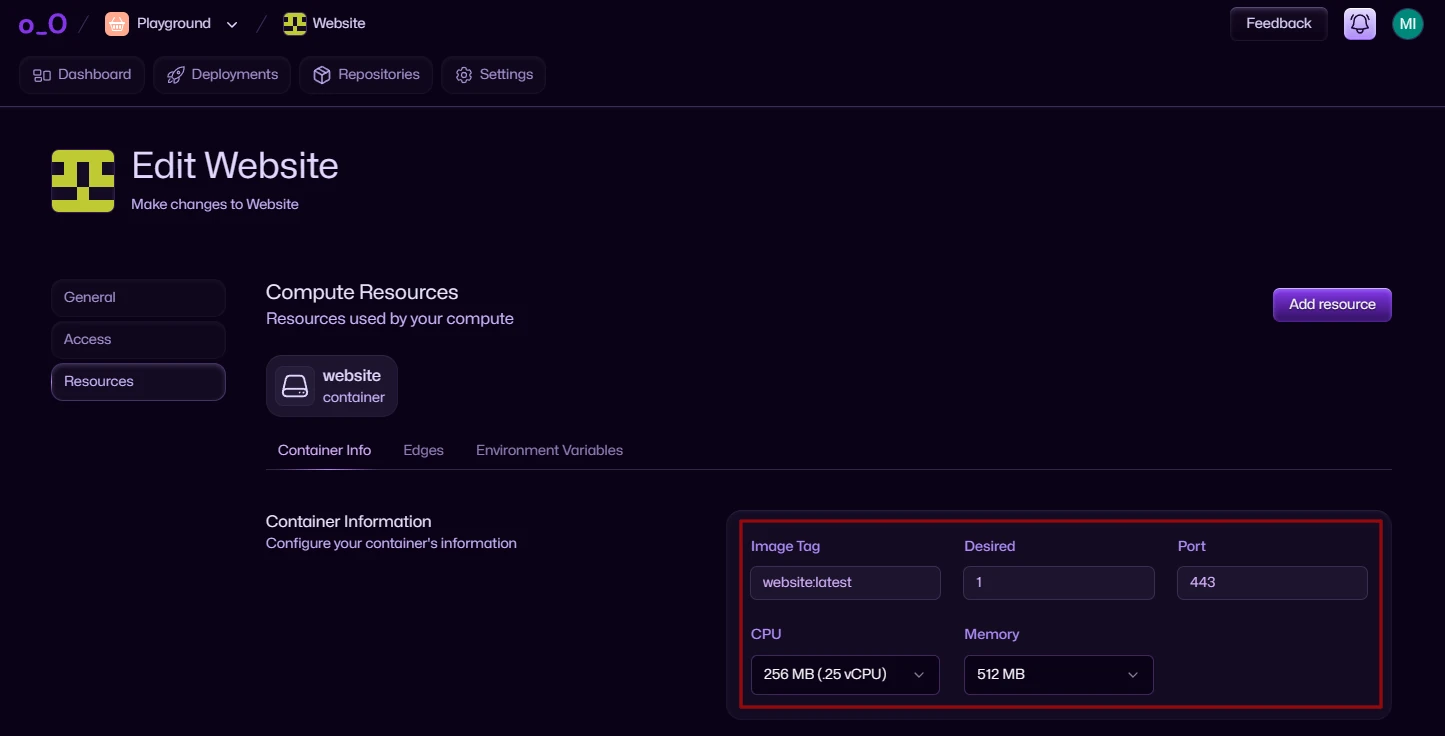
Specify your container resource options and add any extra resources such as a bucket, database or queue.
A revision is a version of your compute. You can have multiple revisions of a compute, each with different configurations.
-
Click
Create revision.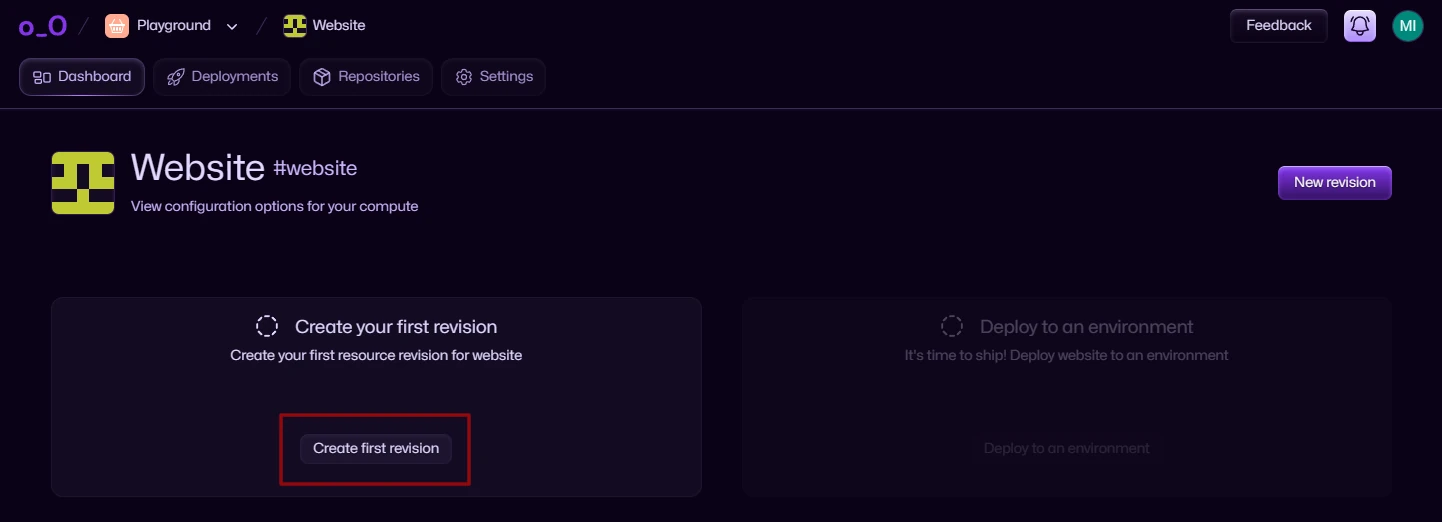
-
Add the image tag of your container (will be pushed to ECR in the Add the CLI to your pipeline step) and configure options such as CPU & memory.
-
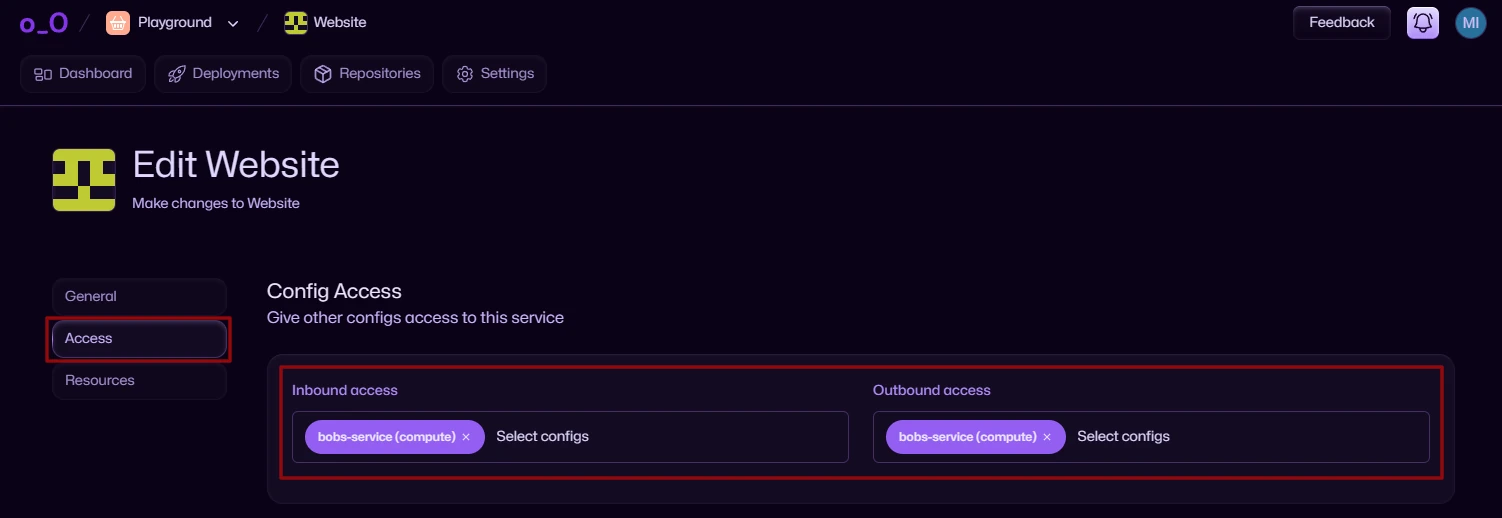
Configs are zero trust by default. If you have services that communicate between each other, you'll have to explicitly specify them.
-
You're ready to go! Click
Savein the bottom right.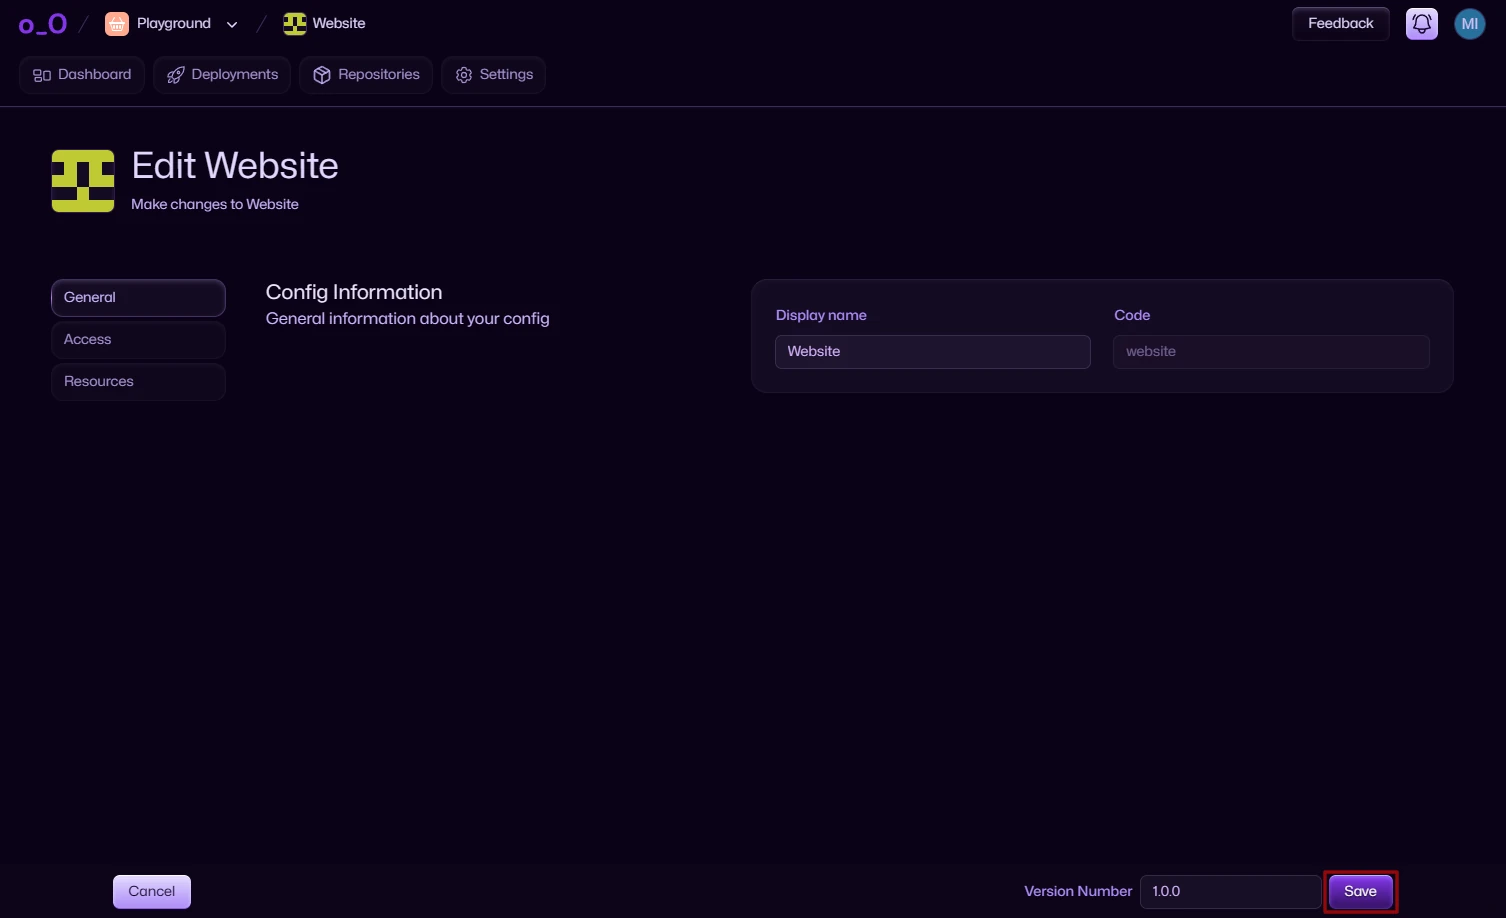
Container repositories
Each compute requires a separate container repository (ECR) which will store your container images.
Each time a compute is created, you'll notice that a container repository is also created by default:
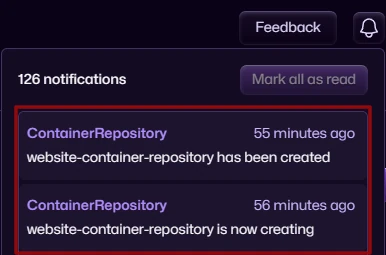
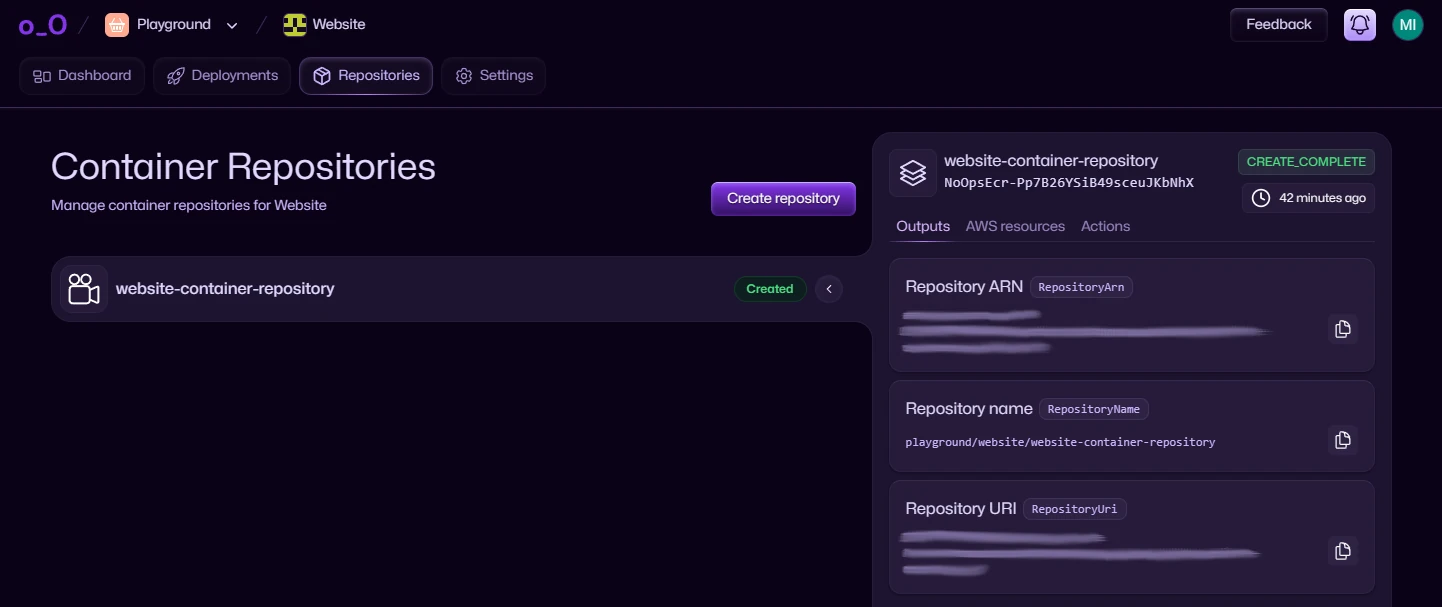
If you want to connect your compute to the outside world, check out adding an edge.
You can now learn about adding the No_Ops CLI to your pipeline.